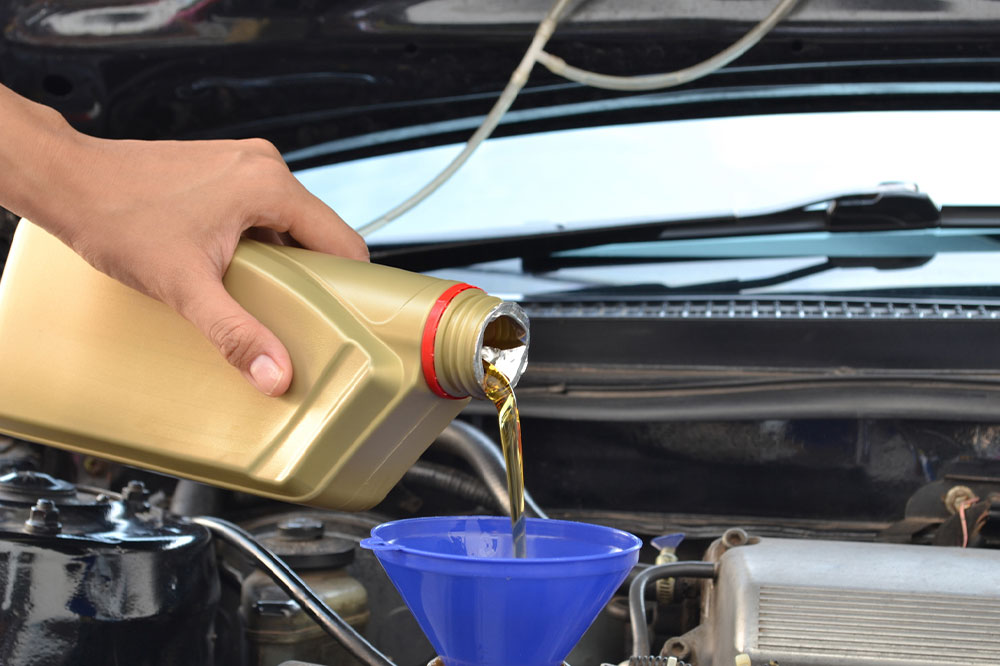
6 useful tips for a DIY oil change
Changing the oil on your vehicle may look straightforward enough. But often, the simplest tasks are the ones that can result in unexpected problems if you are not paying attention. Just investing in premium quality oil to keep the engine running is not enough; you also need to follow the proper steps to ensure there are no engine troubles arising from poor maintenance. Here are a few simple tips to get you started right.
6 useful tips for a successful DIY oil change
Buy the right oil
You cannot just use one motor oil for different vehicles. Note that motor oil comes in different forms of density and viscosity, each formula unique to the engine that needs servicing. So, before comparing the best brands to buy premium motor oil, check and confirm if it matches the engine and vehicle configuration. Your vehicle manufacturer will mention the type of motor oil suggested for the current make, year, and model.
Do it step by step
The first thing to do is use the correct size wrench and unplug the oil filter. You need to first unlock the pan screw and allow the old engine oil to drain. It is better to use a jack to lift up the car so that you have more space to work with rather than trying to fit under the vehicle when it is sitting level. The next step is to remove the oil filter gasket and replace it with a new one. Old gaskets can wear out with regular use, and it is better to replace gaskets with every oil change. If you are unsure about the size, check the vehicle manual to find the right products online. Once the new oil is filled, place the gasket and tighten the plug to make a perfect seal.
Use protective gear
Changing oil at home is a simple enough procedure. But it is better to wear a pair of thick rubber gloves that reach up to your elbow and keep some towels or sponges handy to mop out the excess that spills. Experts also advise using drain pans with a funnel to collect everything directly in the pan.
Note the right time to change oil
Change the oil only when the vehicle has been sitting idle for a considerable time. Once that’s done, it is advisable to run the engine for only a few minutes to ensure the oil is flowing freely and that there are no leaks.
Use a dipstick
Dipsticks have a standard gauge of measurement that lets you top off just the right quantity of oil. This ensures the oil doesn’t spill when the engine is running hot and hard. No matter how good the seal is, there is always a chance of spillage, so ensure you rev up the engine a few times before taking out the vehicle.
Don’t just throw away the old oil
Oil is a major environmental hazard, so you need to be careful about the way you dispose of the same. You can always take the replaced engine oil to a petrochemical recycling facility, where they charge a small fee for safely recycling old lubricants. More importantly, make a note of when the new oil was changed so that you can set up periodic reminders and be ready for the next change.


